
 how-to
Restoration Software Implementation Timeline 2026 Guide
Table of Contents
- What You'll Need Before You Start
- Phase 1: Discovery and Vendor Selection (Weeks 1-3)
- Phase 2: Data Migration and Configuration (Weeks 4-6)
- Phase 3: Your Restoration Software Migration Checklist
- Phase 4: Training Staff on New Restoration Software (Weeks 8-9)
- Phase 5: Go-Live and Post-Implementation Optimization
- Calculating ROI for Restoration Software
- Common Mistakes to Avoid During Implementation
- Frequently Asked Questions
Last Updated: September 19, 2026
What You'll Need Before You Start
A restoration software implementation succeeds or fails before the first login. Companies that map workflows, clean data, and name an internal owner finish in weeks; those that skip prep spend months untangling it.
Have these ready before evaluating vendors:
- A written list of your current workflows, from first call to final invoice
- A named implementation owner who isn't also running jobs
- Exported customer, job, and insurance claim data in a usable format
- A realistic budget line for software, training hours, and temporary productivity dips
- Baseline numbers: average days to payment, documentation hours per job, adjuster recovery rate
Phase 1: Discovery and Vendor Selection (Weeks 1-3)
Discovery is where you decide what "done" looks like. Skip it and you'll evaluate vendors on demo polish instead of fit.
| Evaluation Criteria | What to Look For | Red Flag |
|---|---|---|
| Restoration-specific workflows | Drying logs, adjuster communication, O&P tracking | Generic field service tools |
| Setup speed | Automated or guided configuration | Months-long custom build |
| Data migration support | Documented import process | "We'll figure it out later" |
| Pricing model | Scales with headcount, no surprise fees | Opaque per-seat tiers |
| Exit terms | Clear data export policy | No export path in writing |
Capterra's guide to comparing contractor software
Phase 2: Data Migration and Configuration (Weeks 4-6)
Data migration quietly determines your go-live date. Customer records, job history, claim details, and open work orders all need a home before staff touch the system.
A practical sequence:
- Export everything from your current platform into spreadsheets
- Deduplicate customer and property records
- Map your old field names to the new system's fields
- Import a small test batch and verify data integrity
- Run the full import once the test batch is clean
Phase 3: Your Restoration Software Migration Checklist
Use this checklist before flipping any switches. Each item is a gate, not a suggestion.
- All customer and property records imported and deduplicated
- Open jobs mapped to active projects in the new system
- Job templates built for water, fire, mold, and reconstruction work
- Drying log and documentation fields configured
- Adjuster communication workflows tested end to end
- User roles and permissions assigned by department
- Time tracking and job costing linked to the right cost codes
- Backup of the old system taken and stored
- Rollback plan written down, even if you never use it
Phase 4: Training Staff on New Restoration Software (Weeks 8-9)
Training staff on new restoration software works best when role-specific and short: field crews need mobile documentation and photo capture, office staff need scheduling, billing, and adjuster communication, admins need reporting.
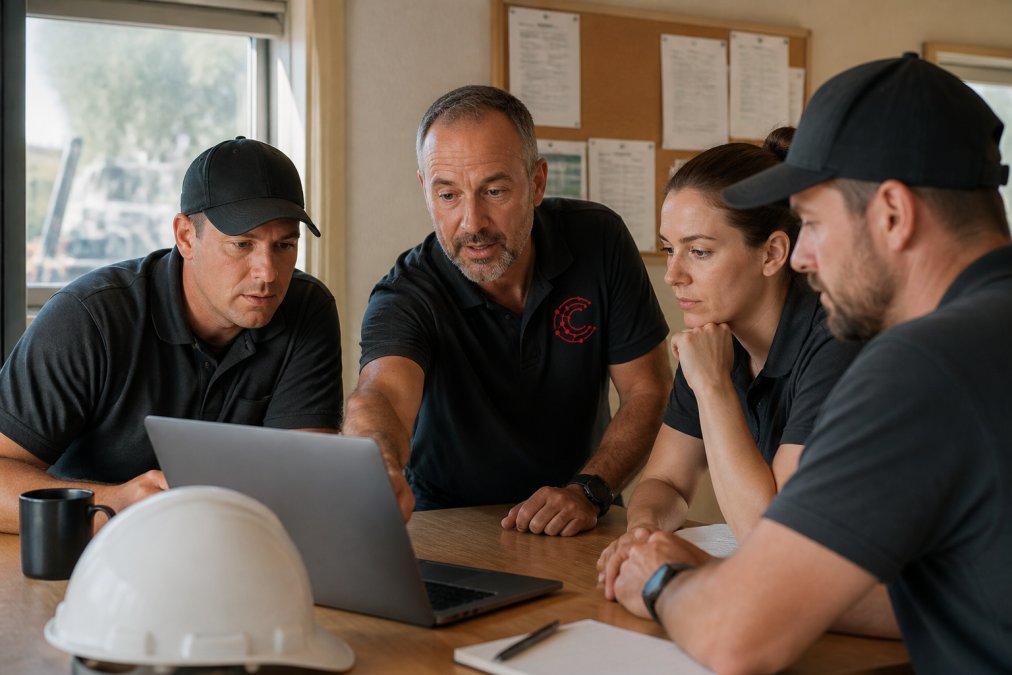
Don't run one all-hands session and call it training.
Phase 5: Go-Live and Post-Implementation Optimization
Go-live is a milestone, not the finish line. Run both systems in parallel for one to two weeks, then cut over once the new platform produces accurate job data. Teams that capture ROI run a structured 6-month post-launch audit.
The 6-Month Post-Implementation Audit
Treat the first six months after cutover as a formal review window with checkpoints at day 30, 90, and 180.
Day 30, Stabilization check
- Confirm every open job from the old system exists in the new one with correct cost codes
- Verify drying logs, photo documentation, and moisture readings attach to the right jobs
- Group first-month support tickets by cause (training gap vs. configuration gap vs. software defect)
- Confirm adjuster communications log to the correct claim record
Day 90, Adoption and accuracy check
- Compare estimated vs. actual labor hours by job type and flag any category off by more than a set threshold
- Audit time tracking: are field crews logging hours same-day or batching at week's end?
- Review login frequency by role, office staff daily, field crews per-job
- Check that job costing reports match your accounting system to the penny before trusting them for bidding
Day 180, Optimization and expansion check
- Re-run baseline metrics (average days to payment, documentation hours per job, adjuster recovery rate) against pre-implementation numbers
- Identify workflows still done outside the platform, those are your next configuration projects
- Evaluate unused modules and either train on them or drop them at renewal
- Decide whether to expand into adjacent capabilities (estimating, inventory, equipment tracking) or hold steady
Integration With Field-Level Hardware
This is where restoration software separates from generic field service tools. Your platform must talk to the equipment crews already carry.
- Moisture meters and thermal imaging cameras, confirm whether readings import via Bluetooth, manual entry, or a companion mobile app, and whether the data lands in the drying log automatically or needs a second step
- IoT drying equipment sensors, if you're running remote-monitoring dehumidifiers or air movers, verify the platform can ingest that telemetry and attach it to the right job
- Mobile photo capture, check that photos taken in the field sync to the correct job and claim without a desktop step
- GPS and dispatch, confirm vehicle and crew location data flows into scheduling if you rely on it
Data Security and Compliance in 2026
Restoration data includes customer PII, property addresses, claim details, and health-adjacent information from mold and sewage jobs, putting you in scope for state privacy laws and carrier contractual security requirements.
Before go-live, confirm:
- Where data is stored and whether it's encrypted at rest and in transit
- Who at the vendor can access your customer records, and under what conditions
- Whether the platform supports role-based access so field crews can't see financials
- What the vendor's breach notification timeline is, in writing
- Whether you can produce a full data export on demand for a carrier audit or a legal request
Vendor Exit Strategy
Every implementation plan should include a plan for leaving, the exit terms you negotiate at signing determine how painful a future switch would be.
- Get the data export policy in writing: what format, how fast, and at what cost
- Confirm you can export job history, photos, drying logs, and financial records, not just customer contact lists
- Ask what happens to your data if you stop paying, and how long it's retained before deletion
- Keep a quarterly export of your own data stored somewhere you control, so a vendor failure never becomes a data loss
FEMA guidance on documentation standards for disaster claims
Calculating ROI for Restoration Software
Calculating ROI for restoration software comes down to three numbers: hours saved on documentation, dollars recovered from adjusters, and overhead eliminated. Measure them honestly, before and after, so you compare real numbers instead of vendor promises.
Build Your Baseline First
You can't prove ROI without a starting point. Before implementation, capture 30-90 days of data on these metrics:
| Metric | How to Measure | Why It Matters |
|---|---|---|
| Documentation hours per job | Admin time logs, or a two-week time study | Direct labor savings |
| Adjuster recovery rate | Billed vs. approved amounts per claim | Revenue recovery |
| Average days to payment | Invoice date to payment date | Cash flow |
| Estimate accuracy | Estimated vs. actual cost per job | Margin protection |
| Admin headcount per job volume | Staffing ratios | Scalability |
| Rework hours | Time spent correcting documentation or re-billing | Hidden cost |
The Three ROI Levers, Quantified
1. Documentation labor savings. Multiply hours saved per job by your fully loaded admin hourly cost, then by annual job volume. A shop running 400 jobs a year that cuts documentation time by 30 minutes per job recovers 200 hours, roughly five working weeks of admin capacity.
Payback Period and Budget Lines
Most small restoration shops should expect payback in months, not years, if the platform is actually used. Budget these line items:
- Software subscription (per user or per job, confirm which)
- Implementation or onboarding fee, if any
- Data migration labor (yours or the vendor's)
- Training hours across all staff
- Temporary productivity dip during the first two to four weeks post-go-live
- Hardware or device costs if field crews need tablets or sensors
A Simple ROI Formula
At Cortex by JobDox, the platform is built around exactly these levers: automating documentation, drafting adjuster responses, and flagging budget overruns before they eat your margin. Start your 14-day free trial and measure the delta against your own baseline.
Common Mistakes to Avoid During Implementation
The mistakes that sink restoration software rollouts are predictable. Avoiding them is mostly about sequencing and honesty.
- Training everyone at once. Role-based sessions stick; all-hands sessions don't.
- Migrating dirty data. Deduplicate before import, not after.
- Cutting over too fast. Parallel running for one to two weeks prevents lost jobs.
- Skipping the rollback plan. Without one, small problems become panics.
- Treating go-live as the end. Optimization after launch is where ROI lives.
- Choosing a platform with no exit path. Ask for the data export policy in writing.
Frequently Asked Questions
How long does it take to implement restoration management software?
Most mid-market restoration companies complete implementation in 8 to 12 weeks. The timeline depends on data volume, number of users, and whether you choose guided onboarding. AI-native platforms like Cortex by JobDox reduce setup time by building workflows from plain English descriptions, so you skip weeks of manual configuration. A phased rollout with a clear go-live date keeps the project on track.
What are the phases of a restoration software implementation project?
A typical project moves through five phases: discovery and vendor selection, data migration and configuration, migration checklist validation, staff training, and go-live with post-implementation optimization. Each phase has defined deliverables and a target completion window. Skipping the discovery phase or rushing training is the most common reason rollouts stall.
How do I prepare my team for a new restoration software rollout?
Start training staff on new restoration software at least two weeks before go-live. Assign one power user per crew who learns the system first and answers daily questions. Keep field workflows familiar where possible, since tools like Cortex by JobDox adapt to how your admin already handles adjuster emails and site photos. Address resistance early by showing how the software reduces paperwork, not adds it.
What KPIs should I track during a software migration?
Track four metrics: time from job completion to invoice sent, adjuster response turnaround, documentation error rate, and user adoption percentage. Baseline each metric before migration so you can measure improvement. Most companies see the biggest gains in billing recovery and admin hours within the first 60 days after go-live. Review these KPIs weekly during the first month.